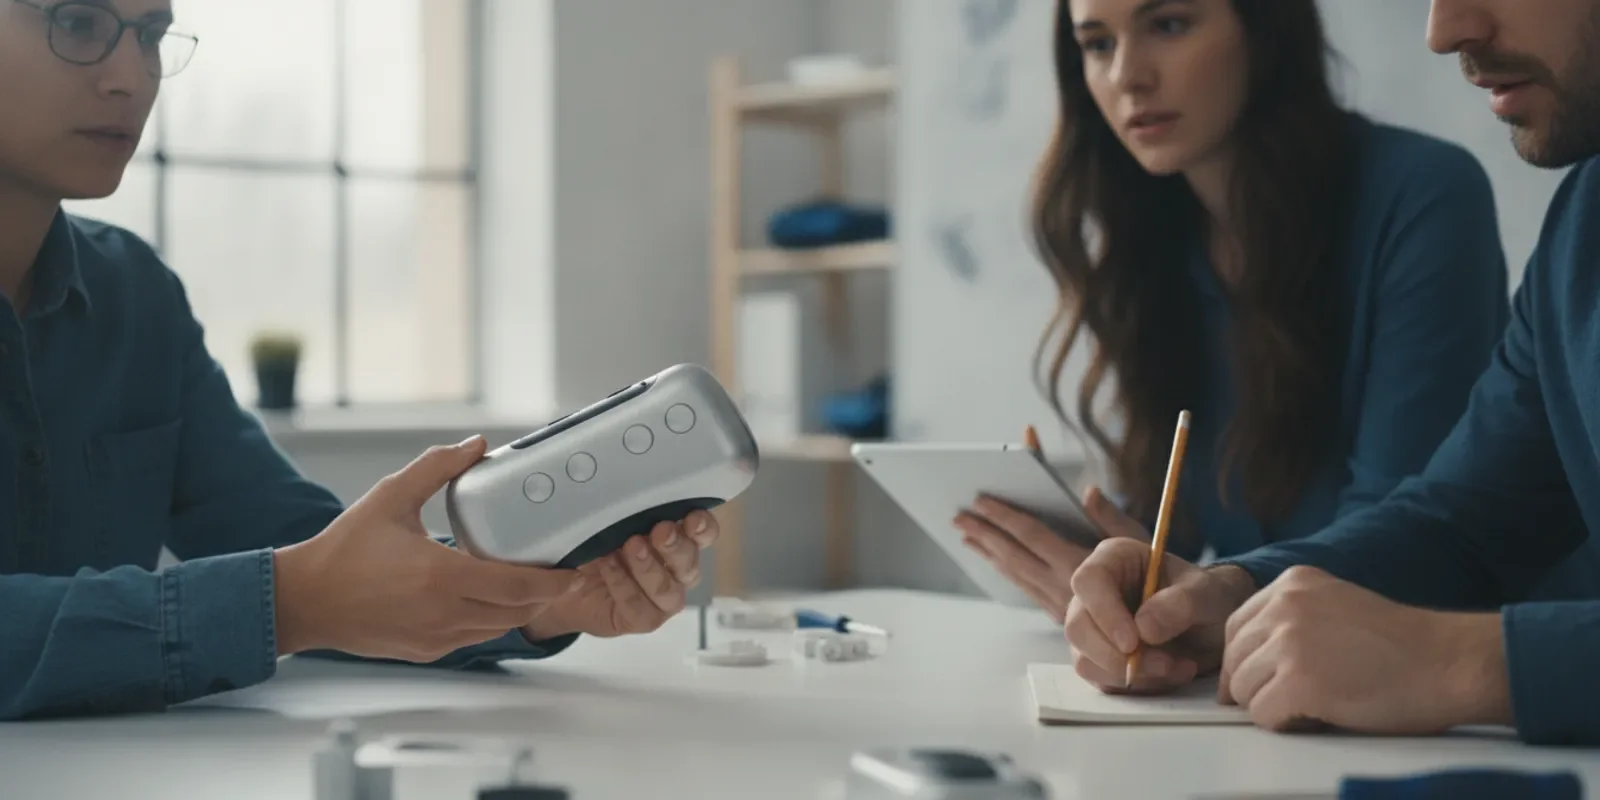
Product testing services are most useful when a team knows what it needs to learn, chooses a build that can reveal it, and observes people using the product in the right context. Prototype fidelity describes how closely a model resembles the intended product in appearance, function, materials, and behavior. Higher fidelity is not automatically better. The right level is the least complex build that can produce trustworthy evidence for the decision in front of you.
Talk with the team about your product
What should prototype fidelity help your team decide?
Start with the decision, not the prototype. A rough mock-up can answer whether a control is easy to reach. A functional model may be needed to evaluate sequence, feedback, or performance. A near-production build can expose issues tied to materials, assembly, or manufacturing tolerances. Building beyond the decision wastes effort; building below it can create misleading confidence.
Write the decision as a question that could change what you do next. “Can users understand the setup without coaching?” is more useful than “Do people like the prototype?” The first points toward a testable task. The second invites general opinions that may not predict real use.
For each question, clarify:
What action or judgment matters? Define what the user must do, notice, choose, or explain.
What evidence would change the plan? Name observable signals, such as repeated confusion at the same step or a fit problem across different users.
What decision follows? Decide whether the result could lead to revision, another test, a design freeze, or a pause.
What does the model need to represent? Specify only the appearance, dimensions, materials, controls, or behavior relevant to the question.
This framing keeps testing focused. It also helps a team explain why a simple model is appropriate, even if it does not look finished. A team might have ten open questions, but a single prototype session should have a manageable purpose. Separate questions that need different evidence so that a useful answer to one does not obscure another.
How do fidelity dimensions differ?
Fidelity is not one slider. A prototype can look convincing while hiding how it works, or behave realistically while using temporary materials. Separate the dimensions so the team can deliberately raise only the fidelity needed.
Appearance and form
Visual fidelity covers silhouette, proportions, color, finish, and the way components appear together. A foam or printed shell can help people react to size and shape. A polished appearance model can support a discussion about visual language or a presentation. Neither proves that internal parts fit or that the product can be made consistently.
Interaction and behavior
Interaction fidelity covers controls, feedback, sequence, and system response. A clickable screen, simulated indicator, or manually operated mechanism may be enough to test an interaction concept. Be explicit about what is simulated. If a facilitator silently performs a function behind the scenes, a participant's success does not prove the product will perform that way on its own.
Materials and construction
Material fidelity matters when weight, flexibility, texture, heat, grip, or durability affects the experience. Substitutes can be useful, but note where they differ from the intended material. A rigid printed component cannot validate the feel of a soft overmold. A temporary join may not reveal how a production assembly will behave.
Context and scale
Scale and setting shape what a test can tell you. A full-size model may reveal reach, posture, storage, or placement that a desktop model cannot. A test in a quiet studio may clarify task flow but miss distractions or environmental conditions relevant to daily use. Match the setting to the question rather than assuming a controlled room represents every situation.
These dimensions can be mixed. For instance, a team testing the reach of a large appliance control may need accurate scale and placement, but not working electronics or final surface finish. A team studying a handheld grip may need representative weight and texture while leaving the screen as a static graphic. State the mix in the test plan, rather than calling the whole build simply “high fidelity.”
Which prototype level fits the question?
Use these levels as planning shorthand, not as a rigid ladder. A project may combine them or revisit an earlier level when new evidence changes the question.
Rough exploratory model
A low-detail model is quick to change and useful for comparing broad forms, layout, scale, or grip. It may be made from simple craft materials, foam, paper, or basic digital shapes. Use it when the team is still deciding what the product should be, and when a rough representation will not distract users from the issue being studied.Good fit: Compare two handle shapes, check whether an object fits on a crowded counter, or explore where a control might sit. Limit: It cannot establish finish quality, actual performance, production feasibility, or reliable durability. Tell participants what is intentionally unfinished, and avoid asking them to judge features the model does not represent.
Appearance model
An appearance model represents selected visual and dimensional details more closely. It can help assess proportion, color, finish, perceived quality, and how a product sits alongside other objects. It is useful for design reviews or early reactions to visual direction.
Good fit: Compare the visual presence of several package or enclosure concepts at true scale. Limit: Appearance alone does not show how a product works. A convincing shell can create expectations that the internal components, controls, or materials have not yet been validated. Label the boundaries of what the model can prove.
Functional or interaction model
A functional model represents key actions or system responses. It might use temporary electronics, simulated software, a partial mechanism, or a manually reset feature. Use it to evaluate task completion, control placement, sequence, and whether feedback is understandable.
Good fit: Find out whether a user knows what to do after a light changes or can complete a setup sequence. Limit: It may not have final dimensions, power behavior, reliability, or construction. Record what is simulated and what operates as intended. Testing one working feature does not verify the entire product.
Production-relevant build
A production-relevant build uses representative dimensions, components, materials, and assembly methods where they affect the question. It can help identify fit, assembly, usability, and process issues closer to production. This level usually takes more coordination and may be less easy to modify, so reserve it for decisions that depend on realistic construction.
Good fit: Review whether a component can be assembled in the intended sequence or whether a material choice changes grip. Limit: Even a close-to-production build is not automatic proof of repeatability, long-term performance, compliance, or readiness for every market. Define exactly which parts and processes are representative and which remain provisional.
How should you choose a level of fidelity?
List the unknowns. Separate questions about desirability, comprehension, ergonomics, function, durability, and production. Do not bundle them into one vague test.
Rank by decision impact. Identify which unknown could cause the greatest redesign, delay, user difficulty, or investment if left unresolved.
Choose observable evidence. Specify what people will do and what the team will record. “Users can complete setup” needs a defined task and a way to note assistance, errors, and completion.
Map evidence to model features. For every important question, identify the minimum features the model must accurately represent. A control-position question requires realistic placement, not necessarily a functioning circuit.
Document compromises. Record differences between the model and intended product. This prevents a temporary workaround from being mistaken for a validated feature.
Run a small dry run. Try the script and setup before recruiting participants. Check that the model supports the task and that the facilitator can avoid giving away the answer.
Review the decision after testing. Summarize observations, uncertainties, and the action they support. If the evidence is inconclusive, adjust the model or question before repeating the test.
A useful test plan can fit on one page. Include the decision, the user group, the task, the prototype's fidelity by dimension, the method, the observations to capture, known limitations, and the decision owner. Add a clear stopping condition: what result is enough to move on, and what result means the question remains open?
Turn a vague question into a test
Suppose a team says, “We need to test whether the new dispenser works.” That sentence could refer to user comprehension, dispensing consistency, cleanup, grip, or fit on a shelf. Break it into separate questions. For comprehension, provide the model and ask a participant to dispense a portion without instruction. For grip, observe the action with a representative handle size and weight. For output consistency, use an appropriate measurement method rather than relying on user impressions. Each needs a different model capability and a different record.
Then write the task as a neutral prompt. “Show me how you would prepare this for use” leaves room for the participant's own approach. A prompt that names a particular button or sequence teaches the behavior the test is intended to observe. If the intended setting matters, reproduce the relevant constraints or record why the session cannot represent them.
How can teams compare options without overbuilding?
Teams often choose between a quick, low-detail model and a more complete build. Compare them against the decision rather than appearance or novelty. A rough model is attractive when the question is broad and changes are likely. A more complete model is justified when realistic behavior, material, or construction determines the answer.
Choose a rough model when
The team needs to compare several concepts or layouts before committing to one.
The main uncertainty concerns form, reach, sequence, or a basic understanding of the idea.
Feedback can be collected without participants relying on missing features.
Fast iteration matters more than polished presentation.
Choose a more representative model when
The question depends on real interaction, weight, material feel, assembly, or fit.
A rough model would require too much explanation or simulation to support a useful observation.
The decision has significant downstream consequences and evidence from a simpler model is insufficient.
The team can clearly state what is representative and what remains unverified.
When uncertain, test the smallest version that can answer the highest-priority question. If the result is clear, move forward without adding detail for its own sake. If it is unclear, determine whether the cause was the concept, the task, the participant, or a limitation of the model. Improve only what blocked learning.
Example: selecting a portable device layout
Imagine a team choosing between two layouts for a small portable device. In the first session, users need to locate and reach the primary control. Build two same-scale shells with controls placed in the proposed positions. The screens can be printed labels; a working circuit adds little if the question is reach and location. Ask participants to pick up each version and perform the same simple task, then record grip changes, reach, and hesitation.
If users consistently find one control but cannot tell whether an action registered, the next test has changed. Now feedback matters. Add a working or consistently simulated indicator, and use the same reset procedure for each session. If the team later needs to assess how the device feels after prolonged use, weight and surface materials may become relevant. This staged approach avoids building every feature into the first model while still moving toward representative evidence.
How should a product test be run?
A good build cannot rescue a poorly designed test. Prepare a consistent session so that observations can be compared and the team learns from actual behavior, not from leading questions.
Define the participant and task
Recruit people who reflect the intended users for the question being studied. Explain the task in plain language without teaching the interface. If the product is for a specialized setting, account for relevant experience and context. The right participants depend on the decision; a general audience is not automatically useful for every test.
Use neutral prompts
Ask participants to think aloud or describe what they expect, but do not suggest the correct action. “What would you do next?” is more informative than “Would you press this button?” Avoid praising successful actions in a way that changes later behavior. Keep facilitator responses consistent across sessions.
Observe before explaining
Record where a person hesitates, retries, skips a step, asks for help, or interprets a cue differently than intended. Separate direct observations from interpretations. “Participant turned the dial twice and looked at the display” is an observation; “the dial is confusing” is a hypothesis to investigate.
Capture context and limitations
Note the model version, setup, task wording, participant context, and any intervention by the facilitator. Record deviations, including broken parts or simulated behavior. These details make findings easier to interpret and prevent one unusual session from being treated as definitive.
For practical guidance on how prototype fidelity can affect user input, see this study of prototype fidelity and user design input. Use research as context, then judge your own test against its specific question and limitations.
Keep the sessions comparable
Consistency does not mean turning a human-centered session into a script with no flexibility. It means giving each participant the same core opportunity to show what they understand. Use the same task wording, starting state, prototype configuration, and rules for intervention. If someone asks a question, respond with a neutral prompt such as, “What would you do if I were not here?” Record the question and your response. That note can explain why one session differs from another.
When comparing two concepts, control the order where practical. A participant who sees one version first may carry expectations into the next. Rotate which concept comes first, or test concepts separately when direct comparison would distort behavior. Keep the task constant and avoid adding explanatory detail to only one concept.
How do fidelity and product risk relate?
More fidelity can reduce some kinds of uncertainty while introducing cost and complexity. The practical goal is not maximum realism. It is enough realism to make a specific decision more dependable.
Consider a handheld device with a new control layout. An inexpensive model could test whether users reach each control comfortably. If the control's tactile response is central to the task, a later build may need a representative switch and feedback. If assembly access is the concern, the team may need representative internal parts and enclosure features. Each step answers a different question.
Do not treat user preference as technical verification. A positive reaction to appearance does not demonstrate durability, safe operation, production consistency, or compliance. Those questions need appropriate methods, expertise, and evidence. Likewise, a technical pass does not prove people understand or want to use the product.
Separate the risks before building
One practical way to avoid overbuilding is to sort risks by the evidence needed. A usability risk may be explored with a model that represents control placement and task order. A material risk may require samples that reproduce texture, flexibility, or temperature behavior. A fit risk may depend on dimensions and neighboring parts. A process risk may require a build that reflects an intended assembly method. Do not assume that one “realistic” prototype covers all these concerns.
For each risk, write down what a test could establish and what it cannot. For example, a one-off assembled unit can reveal whether parts seem to fit in the chosen sequence. It does not by itself establish that every unit will fit consistently. A short use session can reveal immediate confusion. It cannot establish long-term reliability. Naming those boundaries makes results useful without overstating them.
What should a team record after each test?
A concise decision record protects learning from being lost between sessions or project phases. Keep the record tied to the model version and the next action.
Question tested: State the decision the team intended to inform.
Build description: Identify fidelity dimensions, materials, functioning parts, and simulations.
Method: Note the task, setting, participant criteria, and prompts.
Observations: Separate what happened from the team's explanation of why.
Limitations: Identify differences from the intended product and any test disruptions.
Decision: State what changes, what remains uncertain, and who owns the next step.
For example: “Four of five participants tried to open the battery cover from the wrong edge. The model used a smooth temporary latch, so the result supports changing the visual cue but does not establish latch force. Revise the cue and test the representative latch next.” The statement is specific, bounded, and actionable.
Include the date and version identifier as well. If a team later compares results, it should be able to tell whether the shell, control position, prompt, or participant context changed. Keep raw notes or recordings according to the team's policies, and make the summarized decision accessible to the people responsible for the next build. A short record made promptly is more reliable than a polished summary reconstructed weeks later.
Which mistakes make prototype testing less useful?
Making the model too polished too early
Polish can make a concept feel settled and discourage necessary changes. It can also lead participants to focus on finish rather than the question. Use a polished model when visual evaluation genuinely matters, not as a substitute for a clear test objective.
Asking several questions at once
A single session can explore multiple issues, but each needs a distinct task and observation plan. If appearance, usability, and durability are discussed together, the team may not know which evidence supports which decision. A simple session plan can list the primary question, secondary observations, and issues explicitly out of scope.
Explaining away failures
When participants struggle, a facilitator may be tempted to say the model is unfinished. That may be true, but the session still reveals a mismatch between the model and the task. Record the limitation and decide whether to rebuild, change the test, or accept that the question remains unanswered.
Confusing stated preference with observed use
People can describe what they like, but preference alone does not show how they will behave in context. Pair questions about reaction with realistic tasks when the decision concerns use. Keep both types of evidence distinct.
Advancing because the model looks finished
Visual completeness can create a false sense of readiness. Before advancing, review what has actually been tested and what remains unknown. Production preparation may require separate checks for materials, tolerances, assembly, supply, and applicable requirements.
Changing the test midstream without recording it
Facilitators learn as they go, but an unrecorded change can make sessions hard to compare. If a prompt proves confusing, note the original wording, the revised wording, and which participants received each version. If the prototype is repaired or reconfigured, record the change and consider whether earlier observations still apply. Better documentation does not eliminate uncertainty; it lets the team see where it came from.
How can an external product development partner help?
A partner can help a team connect the test question to a build that is practical, representative, and appropriate to the next decision. The useful conversation is concrete: what is known, what is uncertain, which constraints matter, and what evidence the team needs before committing further.
Jackson Hedden works across product design and development, including prototyping and manufacturing support. A discussion can clarify whether the next model should explore a concept, represent an interaction, or address production-relevant questions. Explore prototyping services, review manufacturing support, or see examples in the project portfolio. You can also learn about the broader product design process and review a medical product development case study.
Before a conversation, bring sketches or existing models, intended users, known constraints, decisions on the schedule, and questions that cannot yet be answered. If the team has already run tests, bring the task script and observations. This gives a partner a basis to discuss the appropriate next step without assuming a higher-fidelity build is always required. It can also help identify where internal stakeholders disagree: one person may be asking about appeal while another needs evidence about fit or construction. Make those separate needs visible before choosing the next activity.
Discuss your product development needs
Frequently Asked Questions
Does a higher-fidelity prototype always produce better feedback?
No. Higher fidelity helps only when the relevant detail affects the question. Extra polish can distract from an early concept issue, while a realistic control or material may be necessary to evaluate interaction or feel. Choose fidelity based on the evidence needed.
Can a rough prototype be used for usability testing?
Yes, if its form and behavior support the task being studied. It can reveal reach, layout, or basic comprehension. It is not suitable for claims about features the model does not represent, such as final materials or reliable system performance.
When should a team build a production-relevant prototype?
Build a more representative model when the decision depends on real dimensions, components, materials, assembly, or process. Define what is representative and what is still provisional; the label alone does not establish readiness.
How many prototype versions should a team make?
There is no fixed number. Make the versions required to resolve meaningful questions, and avoid iterations that add detail without changing the evidence. A test result should determine whether to revise, investigate another uncertainty, or move forward.
What is the difference between prototype testing and product testing?
Prototype testing uses an incomplete or provisional model to answer targeted questions during development. Product testing can refer to a broader range of evaluations on a more complete product, including performance or other requirements. Define the method and claim precisely, since the terms alone do not specify what has been verified.
The right prototype is the one that makes the next product decision clearer without pretending to prove more than it can. Define the question, match fidelity to the evidence, and record what remains unknown.