Packaging design testing helps a team find failures while there is still time to change the structure, materials, or artwork. Before production, evaluate more than whether a package looks polished: check fit, protection, transport, shelf handling, and the moment a customer opens it. A clear test plan turns observations into production decisions.
Talk with our team about your packaging
What should packaging design testing prove?
Testing should answer whether the package protects the product, works through the intended supply chain, communicates clearly at the point of sale, and can be assembled consistently. Define these outcomes before making or evaluating prototypes. Otherwise, a team may focus on appearance and miss a closure that pops open, a product that shifts in transit, or a carton that is difficult to pack.
Start with the actual use case. Record product dimensions and weight, fragile or sensitive areas, storage conditions, shipping route, retail format, and who handles the package at each stage. Note whether it will be shipped alone, placed inside an outer carton, displayed on a shelf, or handed directly to a customer. These facts shape the tests.
Product fit: The product sits in the intended position and does not interfere with closures or inserts.
Protection: The package limits movement and shields vulnerable surfaces during realistic handling.
Transport: The packed unit remains intact through expected shipping and distribution steps.
Shelf handling: The package stores, faces, stacks, and opens as required for the sales environment.
Unboxing: A customer can identify how to open the package and access the product without unnecessary frustration.
Repeatability: Assembly steps and specifications can be followed consistently.
How do you set up a useful test?
Write a short protocol for each test. Include the question, sample configuration, method, pass criteria, observations to record, and owner. Use the intended product or a representative mass and shape. A lightweight mock-up can confirm layout, but it cannot prove performance if its materials or weight differ from the final product.
Build a baseline prototype and label each version. Photograph it before testing, note material and construction choices, and record any departures from the expected production process. If several package options are being compared, test them under the same conditions. This makes the results easier to interpret.
Before the first check, write the requirement in observable terms. “Must protect the product” is too broad to assess. A more useful statement identifies the part at risk, the handling situation, and what counts as acceptable afterward. For example, define whether a visible scuff is acceptable, whether a closure must remain engaged, or whether a component must still function after the package journey. The right threshold depends on the product and its use, so set it with the people responsible for product quality and customer experience.
Choose test samples that represent the decisions being made. Early concept samples can compare shape and access, while production-intent samples are needed to assess material behavior, closure force, and repeatable assembly. Mark any substitute material, hand-cut edge, temporary adhesive, or nonstandard assembly. These differences are not reasons to discard early findings; they are limits on what those findings prove.
Fit: Clearance, retention, closure, and product movement Useful evidence: Measurements, photos, movement notes
Protection: Contact points, scuffing, deformation, and damage Useful evidence: Before-and-after photos, damage log
Transport: Package condition after representative handling Useful evidence: Test setup, sequence, condition ratings
Shelf handling: Stacking, facing, access, and visible damage Useful evidence: Display photos, handling observations
Unboxing: Opening clarity, access, and product presentation Useful evidence: Task notes, timing, friction points
Use the table as a starting point, not a substitute for a protocol tailored to the product and route. For specialist test selection, consult a qualified packaging test resource; this packaging testing overview describes common test types such as drop, compression, and vibration testing.
How do you test fit and product protection?
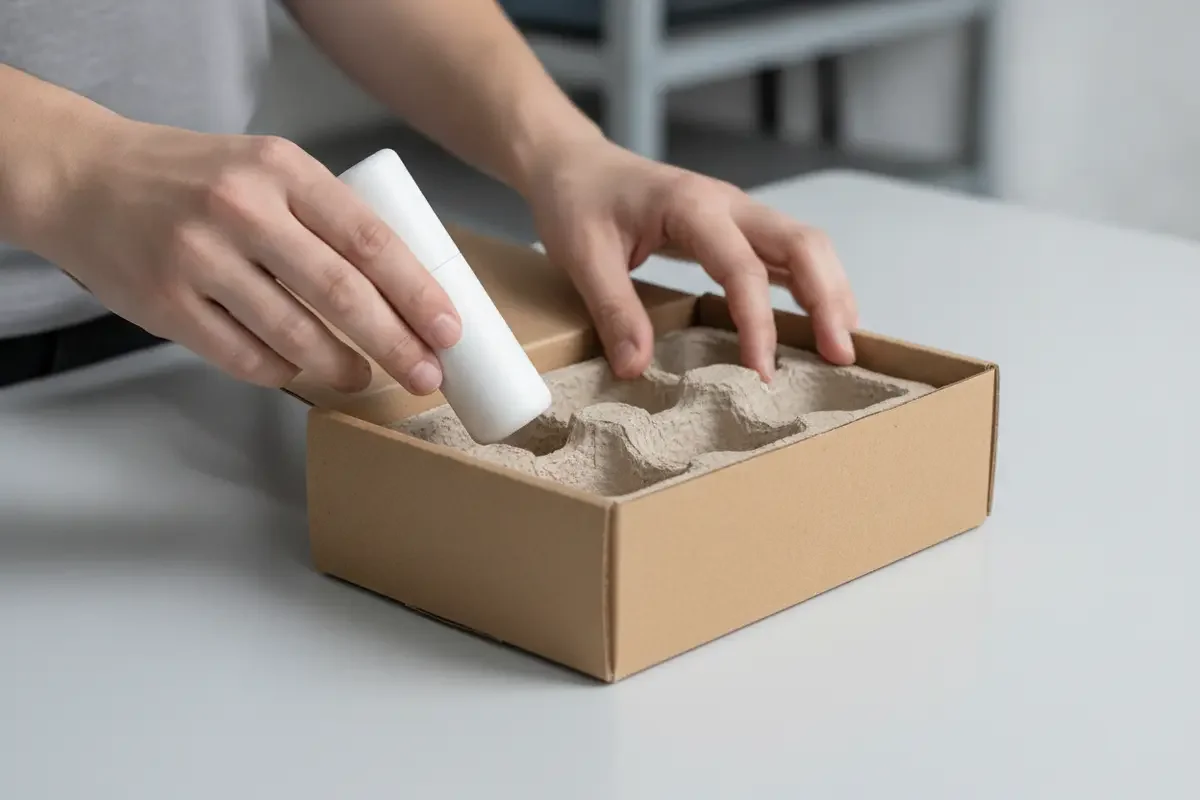
Place the real product or a dimensionally and materially representative model in the package. Check whether it can be inserted and removed without catching, whether the closure fully engages, and whether the product remains located when the package is tilted or gently moved. Inspect gaps and contact points. A fit that is too tight can create assembly or removal problems; excess space can allow movement.Look at the product after each test, not only the outside of the package. Record scratches, pressure marks, bent parts, loosened components, or other changes. Inspect inserts for crushing, tearing, shifted adhesive, and loss of retention. If damage appears, trace it back to a specific contact point or movement path before revising the design.
Test more than one unit when practical. A single successful assembly may hide variation in materials or operator technique. Note the sequence and force required to load the package, and ask someone who did not build the prototype to follow the instructions. Repeated difficulty can indicate that the design depends on an undocumented trick.
Make fit checks methodical. Place the product in the package in its intended orientation and verify that all locating features touch where planned, without forcing the product into place. Measure clearance at critical edges and compare it with the drawing or stated requirement. Open and close the package repeatedly, watching whether tabs crease prematurely, inserts shift, or friction surfaces wear. Check whether accessories, cables, leaflets, or other included items occupy their designated positions rather than pressing against vulnerable parts.
For a product with several components, test each component on its own and as part of the complete packed set. A tray may retain the main item well but leave a small accessory loose. A divider may prevent contact in one orientation but allow movement when the box is turned. Make a quick orientation map and inspect all sides after gentle movement; this can reveal an overlooked path for parts to collide.
Repeat the packing task with different people if assembly consistency matters. Ask each person to work from the same instructions and note where they pause, apply extra pressure, or place a component differently. Do not silently guide them through a step. The goal is to identify what the package and instructions communicate on their own. If results vary, distinguish a confusing instruction from a difficult physical operation before deciding what to change.
How should you check transport and shelf handling?
Map the likely journey from packing to customer. Identify handoffs, stacking, storage, vehicle movement, and any points where the package may be dropped or compressed. Test the package in the configuration it will actually travel in. A retail carton inside an outer shipper behaves differently from a single parcel sent on its own.
Use a repeatable sequence of handling conditions. Record the package orientation, the condition before and after each step, and any visible change to both package and product. The purpose is to expose weaknesses, not to claim that a small informal test guarantees safe delivery. Where product risk or shipping conditions warrant it, use an appropriate formal test protocol and document who performed it.
For shelf handling, recreate the display environment. Check whether packages stack securely, remain easy to face, and keep important information visible. Handle them as a store worker or customer would. Look for corners that crush, surfaces that scuff, labels or graphics that become obscured, and closures that loosen during repeated handling.
Capture observations with consistent ratings, such as no visible change, minor change, or functional failure. Define those terms before testing so different reviewers do not apply them differently. If the package must withstand a specific load or route, set a measurable acceptance criterion instead of relying on a general impression.
A practical transport review begins with a journey map. Write down the packed configuration at each stage: for instance, a product placed in its retail carton, several cartons packed in a master case, and that case stacked for storage. Identify where orientation can change, where weight is placed on top, and whether the package is likely to be handled individually or as part of a larger load. Then choose a test sequence that matches those exposures. A single drop of an unboxed retail unit does not tell you how a master case will behave, and a strong master case does not guarantee that an individual product is retained inside its carton.
After each step, inspect the same features in the same order. Check outer corners and seams, closure engagement, internal movement, contact marks, and the product itself. Photograph the same views each time so changes can be compared. If a mark appears, note when it first appeared rather than only recording the final condition. That timing can help narrow the cause to a particular orientation or handling event.
For shelf evaluation, create a small mock display using the expected shelf depth, neighboring products, and typical orientation. Check whether the package stands as intended and whether a shopper can see the key panel without lifting or turning every unit. Remove and replace packages several times. This can expose a display that looks good when untouched but becomes disordered after ordinary browsing. Also review how front, side, and back panels appear when packages are stacked or placed close together.Think about handling by people beyond the end customer. A retailer or fulfillment worker may need to grip, lift, scan, open, or replenish the package. Watch for a panel that bends under a normal grip, a barcode positioned where a seam interrupts scanning, or a closure that snags when cases are opened. These observations should be tied to the actual channel: a direct-to-customer shipper and a retail shelf carton have different jobs, even if they contain the same product.
How do you evaluate the unboxing experience?
Ask a first-time user to open the package without coaching. Give them the product and package in the state a customer would receive it. Observe where they look first, whether they understand the opening point, whether they need tools, and whether they can remove the product without damaging it. Avoid telling them what the design is supposed to do.
Record hesitation, repeated attempts, torn components, and moments when the product or included items fall out unexpectedly. Also note whether the product is presented in the intended order and whether essential information is accessible. An attractive reveal is only useful if the customer can reach it without excessive effort.
After the task, ask what felt clear or confusing and what they expected to find. Separate preferences from functional problems. One person's aesthetic preference may not justify a redesign, while repeated inability to open a closure is a concrete usability issue. Consider testing with people who resemble the intended users and with participants unfamiliar with the product.
Use a short, consistent task rather than a general request for opinions. For example: “Open the package and remove the product as you normally would.” Do not point to a tab, explain the sequence, or demonstrate a tool unless that instruction is meant to be part of the customer experience. Record the first action, any pauses, requests for help, and whether the package or contents are damaged. If the package includes several layers, note which layer the user expects to open next and whether that expectation matches the design.
Ask follow-up questions only after the task. What did you think would happen when you pulled that panel? Was anything hard to find? Did you know where to put the package or insert after opening? Such questions help distinguish the cause of a problem from a general like or dislike. A participant may dislike a visual choice but still understand the package perfectly; another may praise its appearance while missing an important access step. Keep those findings separate.
Review accessibility and practical use without assuming every user has the same grip strength, dexterity, vision, or familiarity with the product. Check whether small pull tabs are easy to locate, whether instructions are legible at their intended size, and whether the opening action requires awkward positioning. If the product is intended for a particular audience or setting, recruit reviewers who reflect that context. When the package has safety-sensitive openings or special handling needs, define and test those requirements directly rather than relying on informal impressions.
Finally, compare the unboxing experience with the package's purpose. A protective layer may be necessary, but it should not hide the product or make removal unnecessarily difficult. A staged presentation may be appropriate for a premium item, but each step should be understandable and secure. The goal is not to make every package elaborate. It is to make the opening sequence clear, protect the contents, and deliver the product in the condition and order the team intended.
What evidence should a team collect?
Keep a compact record that links every observation to a package version. This makes it possible to compare alternatives and to verify that changes solved the original problem rather than shifting it elsewhere. Useful records include:
Version identifier, date, reviewer, and prototype materials.
Product and package configuration, including insert and closure details.
Test question, setup, sequence, and acceptance criteria.
Photos before and after testing, with the affected area clearly shown.
Observed failures, severity, frequency, and any impact on product function.
Assembly time or steps where repeatability matters.
Decision, responsible owner, and follow-up test required.
Keep raw observations separate from interpretation. For example, write “the top flap lifted after the third handling cycle” before concluding that the closure needs revision. This distinction helps a team review the evidence and consider multiple causes, such as material choice, geometry, assembly order, or handling conditions.
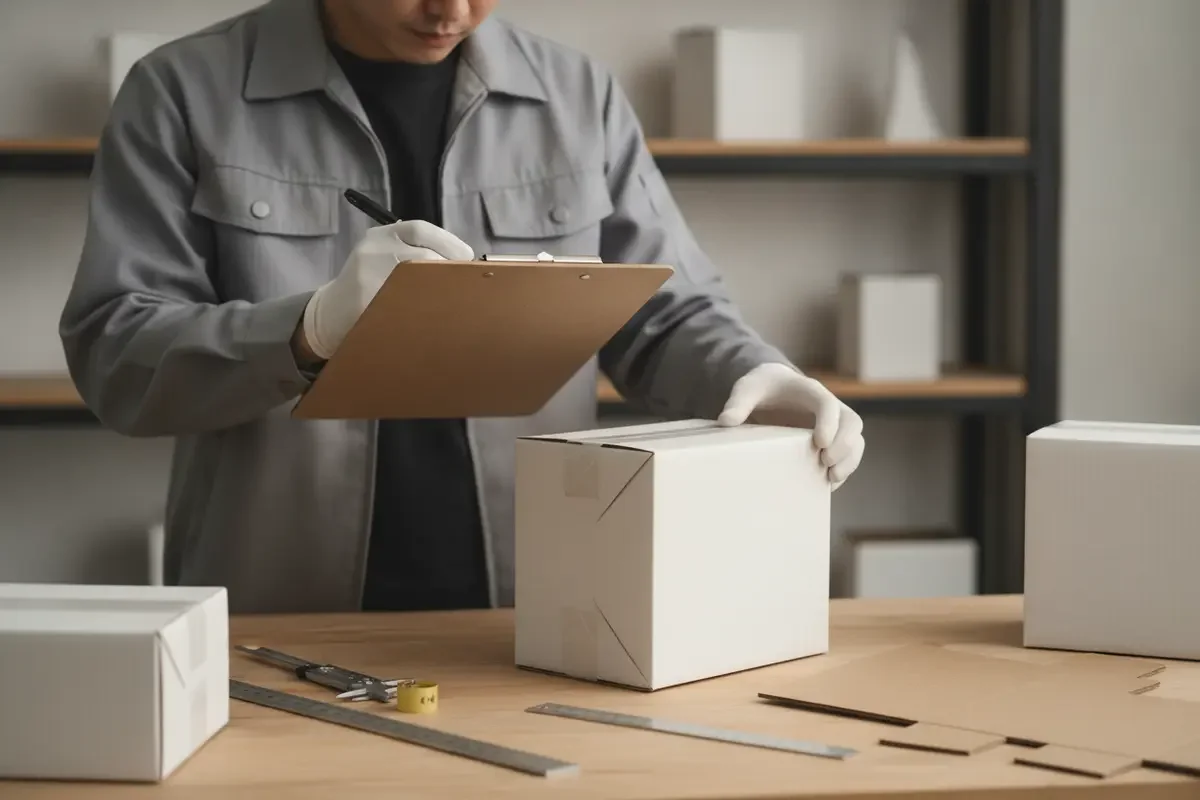
Use one record per test session and give each sample a clear identifier. A simple log might include the version, date, operator, product batch or representative model, package materials, test setup, sequence, and result. For each finding, record the exact location, condition, and point at which it appeared. “Corner crushed after stacking” is more useful when it also states which corner, how many units were stacked, how long they remained, and whether the product inside changed.Photographs are most helpful when they support comparison. Use consistent lighting and angles, include a scale or reference where dimensions matter, and capture the same package views before and after testing. Keep the original images with the test record. If a failure is intermittent, note how many samples showed it and what differed between the successful and unsuccessful cases. Avoid turning a small sample into a broad claim; describe the observed result and the limits of the test.
Give each finding a disposition, such as revise, accept with rationale, investigate further, or monitor during a pilot. Assign an owner and a due point for unresolved items. A list of observations without decisions can leave teams repeating the same discussion. Conversely, a decision without supporting evidence can be difficult to revisit when a supplier, material, or production method changes.
Packaging projects often involve parallel decisions about structure and visual communication. A study of packaging design visual elements and consumer purchase decisions is available through PubMed Central. Treat research findings as context, not a replacement for testing the specific product, audience, and retail setting.
For help organizing early tests around a physical model, see Jackson Hedden’s prototyping services and the practical packaging guides. These resources can complement a team’s own product requirements and sample reviews.
When should you iterate, and when is a design ready?
Change the design when evidence shows a failure against a requirement, a repeated usability barrier, or a preventable source of product damage. Prioritize problems by severity, likelihood, and how difficult they would be to correct after production begins. A cosmetic preference should not automatically outrank a closure failure or an unreliable product fit.
Use a simple decision sequence:
Describe the observed issue without proposing a fix.
Identify the requirement or intended outcome it misses.
Trace plausible causes in the structure, material, assembly process, or user interaction.
Choose the smallest change likely to address the cause.
Update the version and repeat the test that exposed the issue, plus any test the change could affect.
A change to an insert may improve retention but make loading harder. A stronger closure may make opening difficult. Re-test connected functions rather than checking only the modified part. Keep failed versions and records so the team can see what changed and why.
Before finalizing production specifications, confirm that the selected version meets its stated criteria, that assembly is understandable and repeatable, and that unresolved risks have an owner and disposition. Freeze the approved package drawings, material callouts, dimensions, artwork files, closure details, and assembly instructions together. Make sure the supplier and internal team are using the same revision.
For a broader view of how product concepts move toward manufacture, see Jackson Hedden’s product design services, manufacturing support, and project portfolio. These links provide context for discussing requirements and production considerations.
Plan a final verification across the actual handoff, not only the design desk. Have the person responsible for packaging a unit follow the current instructions from start to finish, using the specified components and ordinary tools. Confirm that the product enters without forcing, protective elements sit in their intended positions, and closures engage in the correct order. If a step depends on unusual pressure, a hidden alignment mark, or repeated adjustment, revise the instruction or the package so the operation is clear.
Review artwork and physical samples together. Confirm that the opening direction, labels, and any handling cues correspond to the structure that was tested. A late graphic change can cover a fold, obscure a required instruction, or alter the surface that a customer grips. A late material change can affect stiffness, friction, or closure performance. Record which parts of the package were validated and repeat relevant checks when a change touches them.
For teams comparing suppliers or package formats, keep the comparison tied to requirements rather than preference alone. Note what each option protects well, what it makes harder to pack, and what evidence remains uncertain. A lower-complexity option may be easier to assemble, while a more protective insert may need another check for removal and waste handling. The useful choice is the one that meets the product and channel needs with risks the team can manage.Make the approval record easy to use after the project moves forward. Include the selected sample or reference photos, revision identifier, accepted test results, open issues, and the name of the person authorized to approve changes. If a production sample differs from the tested prototype, pause and compare the differences before treating the earlier results as applicable. This prevents a test report from being separated from the package it actually describes.
Frequently Asked Questions
Can a package be tested before the final product is ready?
Yes. Use a representative model with the same dimensions, weight, center of mass, and vulnerable surfaces where possible. Mark assumptions and repeat important tests with the production-intent product when it becomes available.
How many package prototypes should we test?
There is no single number for every product. Use enough samples to explore meaningful variation and repeat key steps. A package with tight tolerances, multiple assembly steps, or greater product risk needs stronger evidence than a simple low-risk carton.
Do we need formal shipping tests?
It depends on the product, distribution route, and consequences of failure. Informal handling can reveal obvious design issues, but it does not establish performance for every shipping environment. Select a formal protocol when the product or route requires it.
What should happen when a test fails?
Record the exact failure, link it to the package version, and determine the requirement it missed. Make a controlled revision, then repeat the failed test and check related functions that the change may affect.
How do we know when packaging is ready for production?
Finalize when the approved version meets defined criteria, critical risks are resolved or explicitly managed, and the team has consistent drawings, materials, artwork, and assembly instructions for the same revision.
Discuss your product packaging project
Make testing part of the package plan
Packaging design testing works best as a sequence of specific questions, controlled revisions, and recorded decisions. Check fit, protection, transport, shelf handling, and unboxing before production, then use the evidence to finalize clear specifications. That process gives the team a reasoned basis for approving the package version.