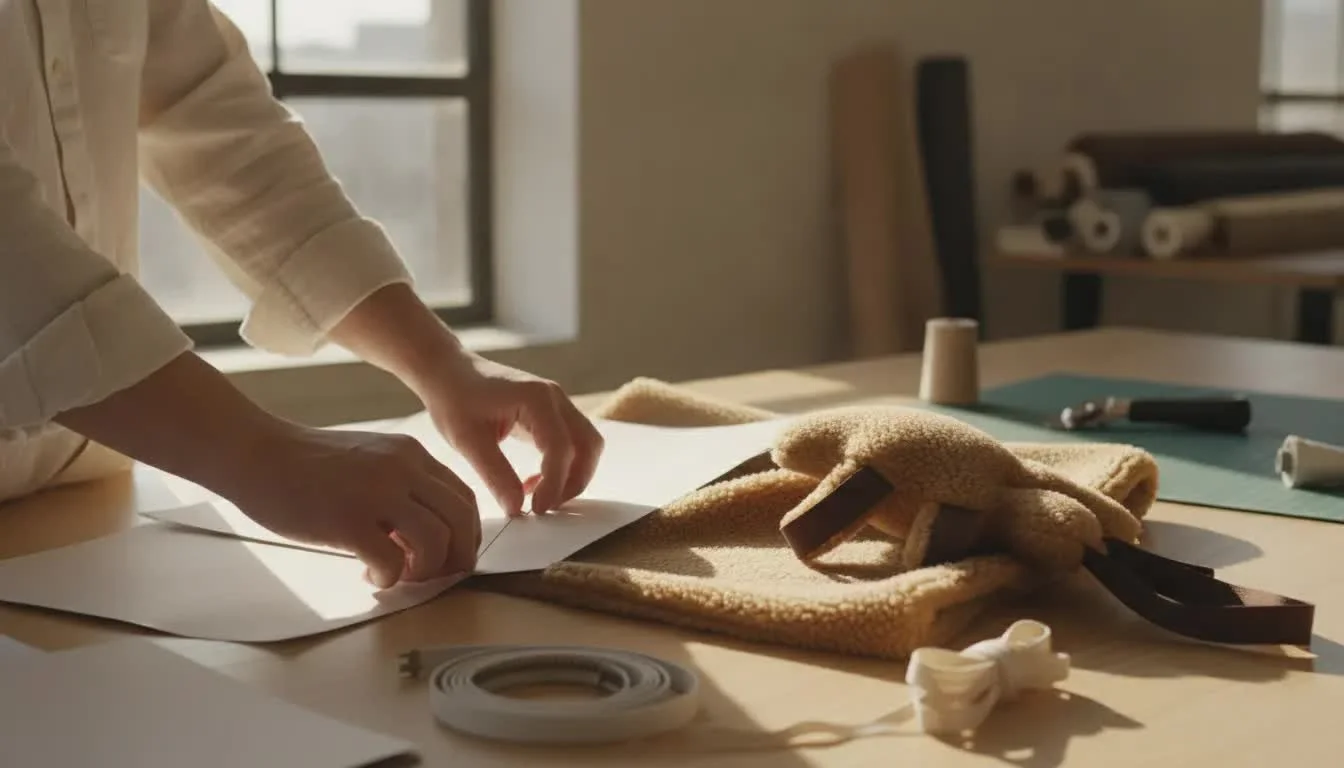
Soft goods product design is the work of turning a bag, plush, wearable, or padded product into something a sample maker can sew, a user can live with, and a factory can repeat. Rigid products fail in CAD. Soft products fail in the hand: the foam compresses, the seam rubs, the strap twists, or the insert will not go back in after washing. Teams that lock those decisions before the first construction sample spend fewer paid sample rounds getting to a quotable design.
Start a soft goods product conversation
What Soft Goods Product Design Has to Decide First
A useful brief for a sewn product is shorter than a novel and more specific than a mood board. Before anyone cuts fabric, the team should be able to answer five questions in one sitting. Who touches the product, and for how long? What has to stay soft, and what has to stay located? How is it cleaned? What is inside it? What does "done" look like on the first sample?
Those answers change the pattern, not just the render. A heated plush that a child sleeps against needs a different seam plan than a trade-show tote that only has to survive a weekend. Jackson Hedden's Kaia Comfort work is one example: each Stroodle is built from soft, plush textiles and also carries electronics, so the textile hand and the insert have to be designed together.
Write the decisions down in the same place you keep the product design brief. For soft goods, add four lines the usual brief skips:
Contact map: skin, clothing, floor, furniture, or gear the product touches.
Load map: what is carried, stuffed, heated, or pulled, and from which point.
Care rule: wipe, machine wash, spot clean, or replace a cover.
Sample gate: the three things the first sewn sample must prove before a second round is funded.
If those four lines are blank, a factory quote is a guess. The sample maker will fill the blanks with whatever is on the shelf.
How a Sewn Product Fails Differently From a Rigid One
Most product teams already know how to review a plastic housing. They check draft, wall thickness, and whether the parts snap. A sewn product asks different questions, and treating it like a small rigid product is how sample round two becomes sample round five.
Hand, loft, and compression
Fabric hand is how the cloth feels when you pinch it. Loft is how much a fill or foam springs back. A render cannot show either. A 10 millimeter foam that looks plush in a drawing can feel like a board once it is quilted, because quilting stitches pull the fill down. Specify the face fabric, the fill type, and whether the panel is quilted before you ask for a looks-like sample.
Seams, allowances, and bulk
Every seam eats fabric and adds thickness. A first sample is where you learn whether a French seam, a flat seam, or a simple turned edge belongs on that product. A first sample is also where the pattern, cloth, and notions meet. Coats classifies seams under ISO 4916:1991, from superimposed seams to bound and flat seams, because the seam should carry load in a way the cloth can support. That is the right job for round one. It is the wrong job if nobody has named the seam type.
Seam allowance is part of the pattern, not a factory preference. A later change from a 10 millimeter allowance to a bound edge changes the panel sizes. Call that out as a revision. Otherwise the next sample looks smaller for a reason nobody wrote down.
Hardware, openings, and inserts
Zippers, webbing, snaps, and heat inserts fail at the attachment, not in the middle of a panel. Decide the opening before the pattern is cut: where a battery or heat pack enters, how wide that mouth is, and whether the user can close it with one hand. A beautiful shell that cannot be serviced is not a finished soft goods design. It is a sealed prototype.
Build the Sample in Stages, Not in One Perfect Sew
One perfect sample is a myth. A cheaper sequence is three builds, each with one job. Skip a stage only when you already have a physical reference that answers that stage's question.
Each sample stage has its own cloth, hardware, and pass test.
Form: Cheap cloth. No final hardware. Pass test: Shape and fill match the sketch.
Construction: Real seams. One of each hardware type. Pass test: Straps and care rule hold up.
Confirmation: Production-intent materials. Pass test: Fit and cost match the pack.
Form sample. Cheap cloth, correct panel count, no final hardware. Check silhouette, openings, and whether the fill volume matches the sketch. Mark changes on the sample with tape, then photograph each mark.
Construction sample. Real or stand-in face fabric, the intended seams, and one of each hardware type. Pull on straps, open and close the mouth ten times, and wash or wipe it the way the care rule says. This is the round that earns a factory conversation.
Confirmation sample. Production-intent materials and the revised pattern. Use it for fit on the real user, for a costing review, and as the reference the tech pack points to.
Factories earn money on production, not on endless samples. Maria Boustead's soft-goods notes put a practical cap on this. Small brands do better when they reach a final prototype in about two or three rounds. Sew the form sample in-house, or with a local maker, so those rounds go to real changes.Do not use this sequence to answer questions that belong to rigid parts. If the product also has a plastic clip, a circuit board, or a heat module, prototype that part on its own track. The prototyping services page is the right home for CAD refinement, 3D printing, and physical models of those hard parts. The sewn shell still needs its own samples.
General guidance on when a prototype is a learning tool and when it is a market test lives in the consumer product prototyping guide. Read that for the MVP comparison. Come back here for the seam, fill, and pattern decisions it does not cover.
What the Tech Pack Must Contain Before You Ask for a Quote
A soft goods tech pack is the packet a sample maker uses to price and sew without guessing. For a simple bag or plush, three pages are often enough. Complicated openings, electronics, or reversible construction need more, but every extra page should answer a question the sewer will hit at the machine.
Boustead's tech-pack breakdown is a solid minimum, and it matches what factories ask for:
Sketches with material callouts. A three-quarter view plus the views that show an opening, a pocket, or a strap path. Draw the stitch lines. Name the fabric on the panel, not in a separate email.
Measured drawings. Front, side, and top with finished dimensions, not flat-pattern dimensions mixed in. Note which dimensions are finished size after sewing.
Bill of materials. Face fabric, lining, fill, thread, zipper or hardware, labels, and any insert. If you only have a swatch, call it "Sample Fabric A" and send the swatch. Unspecified cloth gets replaced with whatever is easy.
Bag-only packs often skip three lines. Add them when the product is a plush, a wearable, or a padded good.
Seam type and stitch count per inch for the main seams and for any high-load seam.
Fill weight or foam thickness per panel, and whether the panel is channeled or quilted.
Revision marks. Circle what changed since the last sample so the maker does not re-check the whole pack.
Pattern making can stay with the sample maker on a simple bag. Say so in the pack: "factory to develop the pattern from these finished dimensions." If you already have a pattern, send it and label it as the master, with the date. Two patterns in one thread is how the wrong panel gets cut.
Materials, Care, and the Tests Worth Running on the Sample
Pick materials for the job, then test the sample against that job. A showpiece that cannot be cleaned will not survive a buyer review. A soft shell that cannot take a seam load will not survive a child, a commute, or a clinic.
Choose cloth for contact and care
Skin contact wants a face fabric you have handled, not a texture from a rendering library. High-wear faces, such as a bag base or a plush that is hugged daily, want a tighter weave or a knit that does not pill in the first wash. If the care rule is machine wash, the fill, the thread, and any insert have to survive that cycle, or the cover has to come off.
Send swatches with the tech pack. A written name like "soft plush" is not a spec. Record supplier, color, width, and the face you want out. If the factory substitutes, the confirmation sample is where you accept or reject the substitute, in writing.
Test the sample against use, not against the sketch
You do not need a lab to learn the first hard lessons. On the construction sample, run a short list and write the result next to a photo:
Open and close every mouth, zipper, or flap ten times. Note where cloth catches.
Load the product the way the load map says, then lift it from the intended point. Look for seam grin, which is the line of daylight that appears when a seam is pulled.
Wash, wipe, or spot-clean once, using the care rule. Check fill clumping, shrinkage, and hardware tarnish.
If the product touches skin for more than a few minutes, have the actual user wear or hold it. A seam that looks fine on a table can sit on a bone.
Keep formal lab work for the confirmation sample, and only for claims you plan to make. If the shell must resist a spill, or the strap must carry a stated load, ask which test the factory already runs. Use that method so the report matches production. A one-off lab test that production cannot repeat is a slide, not a control plan.
When a result fails, change the pattern or the material before you change the adjective in the marketing line. Teams that rewrite the claim instead of the seam pay for that choice in returns.
Where This Work Sits in the Rest of the Program
Soft goods product design is one slice of a product program, not a substitute for it. The shell can be ready while the insert, the brand, or the factory path is not. Split the work so each track has an owner.
Hard parts, electronics, and mechanisms belong with the broader build plan on the product design page. That work covers the product as a system: user needs, manufacturable geometry, and the decisions that keep a launch from depending on a single heroic sample. The soft shell still ships its own tech pack. Do not bury stitch lines inside a mechanical drawing set and hope a sewer finds them.Factory handoff is a different conversation. Once the confirmation sample and the pack agree, use manufacturing support to line up a cut-and-sew partner. Confirm minimums there, and check that the BOM matches what that factory can buy. Bring the marked sample to that meeting. A pack without the sample it describes is how a quote comes back for a simpler product than the one you designed.
If the soft good is also a branded object, such as a kit, a plush, or a promotional piece, the branding work should name labels, trims, and color before the confirmation sample. A neck label added after the pattern is frozen moves seams. Put it in the BOM in round two.
Two reviews from adjacent Jackson Hedden guides are worth borrowing, without repeating them. A physical product feasibility study is where you test whether the product should exist at the target cost. Use it before you fund three sample rounds of a plush that only works in a fabric you cannot afford. Prototype testing methods cover how to plan a test so the result changes a decision. Use that structure for the four checks above, and keep the checks themselves specific to cloth, fill, and seams.
A Practical Kickoff for the Next Soft Goods Brief
You can start this week without a factory on the line. Block two hours and fill a one-page brief from the product you already have in mind.
Write the user, the contact map, the load map, and the care rule in four sentences.
Sketch one three-quarter view and mark every opening, strap, and stitch line you already know.
List the BOM as far as you know it. Swatches beat adjectives.
Name the three proofs the form sample must show. If it cannot fail, it is not a test.
Book the construction sample only after those three proofs are written down.
Bring that page to the first working session. A partner can pressure-test the seam plan, the insert path, and the sample gates with you, then turn the page into a pack a sample maker will actually follow. That is the whole point of deciding early: the first paid sample teaches you something you named in advance.
Talk with Jackson Hedden about a soft goods brief
Frequently Asked Questions
What is soft goods product design?
Soft goods product design is the process of specifying a sewn or textile product so it can be sampled and repeated. It covers the user and the load, the fabric and fill, the pattern and seams, the hardware, and the tech pack a sample maker needs. It is not the same job as styling a rigid housing.
Do I need a pattern before the first sample?
Not always. On a simple bag, the sample maker often develops the pattern from finished dimensions and clear sketches. If you already have a pattern, send one dated master and say it is the master. What you cannot skip is the finished size, the seam type, and the opening plan.
How many sample rounds should a soft goods product take?
Plan on about three: a cheap form sample, a construction sample in real or stand-in materials, and a confirmation sample for fit and costing. Teams that try to make the first sew perfect usually pay for extra rounds anyway, because hand, bulk, and hardware only show up in cloth.
What should a soft goods tech pack include?
At minimum, include sketches with material callouts and stitch lines, measured views with finished dimensions, and a bill of materials. Add seam type, fill or foam thickness, and revision marks when the product is padded, wearable, or filled. Keep it as short as the sewer's questions allow.
How is this different from consumer product prototyping?
Consumer product prototyping covers the broader choice of what to build first, including rigid models and market tests. Soft goods work is the textile slice of that problem: pattern, seam allowance, fill, care, and the sewn sample sequence. A product with both a circuit and a plush shell needs both tracks.
Can Jackson Hedden help if we only have a sketch and a swatch?
Yes. A sketch, a swatch, and a clear care rule are enough to start the brief and the form-sample plan. The conversation on the contact page is the right next step when you want a partner to turn that into a sample gate and a factory-ready pack.