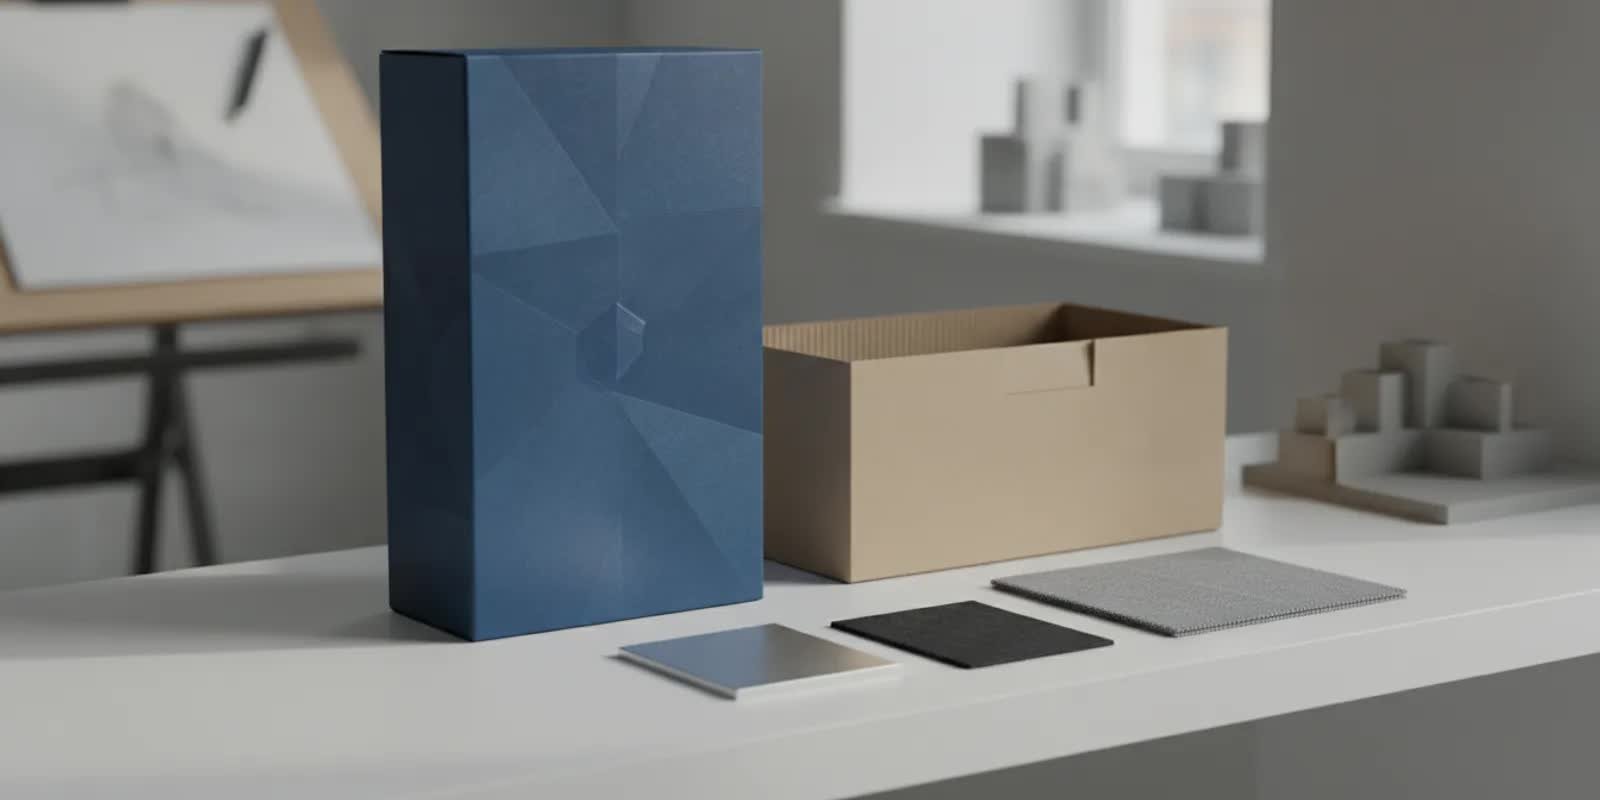
Retail product package beside an unprinted packaging prototype and material samples
Knowing how to design packaging means solving more than a visual problem. A package must explain the product, attract the right buyer, protect what is inside, and suit the way it will be made, shipped, opened, and stored. Start with those jobs before choosing colors or a graphic style.
Talk with us about your packaging project
For a product team, packaging is part of the product experience and the operating plan. A concept that looks compelling in a presentation can still fail if it is hard to open, poorly sized for shipping, confusing on a shelf, or difficult to produce consistently. The strongest process connects customer needs, brand expression, package structure, and production decisions from the beginning.
What should packaging design decide first?
Before sketching, write down the decisions the package has to support. Keep the brief concrete enough that a team can compare directions against it, rather than choosing based on personal taste.
Who is choosing the product? Describe the intended buyer and context: browsing a store, comparing options online, receiving a shipment, or using the product at home.
What must the package communicate? Identify the product name, category, primary benefit, variant, required instructions, and details the buyer needs before purchase.
What must it protect? Note fragility, moisture or light sensitivity, contamination concerns, and expected handling during storage and distribution.
How will people interact with it? Define how it opens, closes, dispenses, stores, and eventually gets discarded or reused.
Where will it be sold and shipped? List retail display needs, online fulfillment conditions, shelf dimensions, and known channel constraints.
What production assumptions need confirmation? Record likely materials, manufacturing method, quantities, supplier capabilities, and established cost or schedule limits.
Separate confirmed requirements from hypotheses. “The package must fit this parcel box” is testable when dimensions are known. “Customers prefer a premium feel” is not a specification until the team defines what premium means and how it will evaluate that quality.
Use a short hierarchy: essential requirements, desired qualities, and open questions. This keeps a team from treating every preference as equally binding. It also exposes conflicts early, such as a request for a large display window alongside a need for high product protection.
How can teams understand the buying context?
Packaging has to work where a decision happens. A retail shopper may see a package from several feet away, then pick it up to inspect details. An online buyer may first encounter a small image, then judge the delivered package when it arrives. A product sold through both channels needs to communicate in each setting.
Map the experience in sequence. What does someone notice first? What question do they ask next? What information helps them compare? What happens after purchase? This can reveal that a large brand mark is less useful than a clear product variant, or that accessible opening matters more than another decorative feature.
Review products in the same category to understand conventions and points of difference. Record package scale, hierarchy, closure, materials, variant distinctions, and legibility at a distance. The purpose is not to copy another brand. It is to understand what buyers may expect and where a new product can be easier to recognize or understand.
If possible, observe the product in its real setting. Look at shelf spacing, neighboring packages, lighting, and how a person handles the item. For online sales, review the listing image and fulfillment journey. A photo mockup helps, but it cannot replace a physical check of scale and handling.
A useful context map follows one buyer through the decision. For example, imagine someone comparing three refill products. At a distance, the package must signal the product family; in hand, the variant and volume must be easy to distinguish; after purchase, the user needs to locate instructions and open the package without damaging what remains. Write each moment as an observable task. “Find the fragrance” and “open without spilling” are clearer design inputs than “make it intuitive.”
Also note channel differences rather than assuming one presentation covers all use. A retail face may be viewed upright, while a parcel may arrive on its side. A marketplace image can crop away package edges, and a shipper may conceal the retail graphics until unboxing. List the views that matter and what the buyer must understand in each. This creates a practical test plan later.
How do you turn the brief into a packaging concept?
Explore a few distinct directions before refining one. Each should make a different, intentional tradeoff, such as stronger shelf visibility, clearer product information, a more protective structure, or a simpler opening. If every concept is merely a color variation, the team has not yet explored the design problem.For each direction, show enough to make the idea understandable: a rough package form, information hierarchy, key graphics or color cues, and how the product sits inside. State the central idea in plain language. “Make the product variant unmistakable from a distance” gives the team a criterion to evaluate, not just a mood.
Build a decision record that ties each direction back to the brief. Ask whether buyers can identify the product quickly, whether key information is easy to find, whether the concept fits the brand, whether it can protect the product, and whether suppliers can support the proposed materials and processes. Identify the assumption that should be checked before committing.
Concept feedback is most useful when tied to a question. Instead of asking “Which one do you like?”, ask whether a buyer understands the product, whether variants are easy to tell apart, or whether the opening sequence is clear. Feedback then informs a decision rather than becoming a poll of aesthetic preferences.
Use a simple concept scorecard, but do not let a numerical total hide a critical failure. Give each direction a short rating against the same criteria, such as clarity, shelf recognition, protection, ease of use, and production plausibility. Then record the reason behind each rating. A concept may score well overall yet remain unacceptable if it obscures a required instruction or cannot fit the product.
For instance, a compact carton could offer a clean front panel and efficient storage, while a larger sleeve could make the product more visible and provide more room for explanation. The scorecard should show the tradeoff, not declare a universal winner. Next, identify what evidence would resolve the important uncertainty: a shelf mockup, a full-size fit model, a supplier conversation, or a user handling session.
Keep early concept material proportional to the decision. A sketch is enough to discuss hierarchy; a dimensional model is needed to assess proportions; detailed artwork is premature if the package format is still unsettled. This sequencing avoids polishing options before the team knows whether their underlying assumptions are sound.
How should a package communicate at a glance?
Visual hierarchy helps a buyer scan. Decide what should be noticed first, second, and third. In many categories, that may be the brand or product family, the specific product or variant, and a key use or benefit. The right order depends on the buying decision and the information the category requires.
Keep the front-facing view focused. Too many competing claims, badges, illustrations, and decorative elements can make a product harder to understand. Organize details into clear groups, leave enough space around important information, and check that type remains legible at actual package size.
Color and imagery should help distinguish and explain, not simply fill space. A color system can make variants easier to find, but check it across the complete product family. Images should make the product or use clear. Evaluate crops and contrast at shelf distance and close range.
Review concepts in realistic conditions. Create a simple shelf lineup with competing products, view it from the expected distance, and inspect it in hand. For an online product, look at a thumbnail as well as the full image. A design that reads only when enlarged on a monitor may not work in the buying context.
Make a panel-by-panel information map before final artwork. The primary face can carry the most important identification, while side or rear panels can hold supporting details, instructions, and product-specific information. This is not a fixed formula; it is a way to stop every message from competing for the same space. Confirm which information is required with the appropriate regulatory or product specialists rather than assuming a visual layout makes content compliant.
Test hierarchy in black and white as well as color. If the product name, variant, and key instruction disappear when color differences are removed, the system may depend too heavily on hue. Type size, placement, spacing, and simple symbols can reinforce distinctions. For a family with several variants, place packages side by side and check whether the differences remain clear when viewed quickly.
Consider the package as a set of views, not a single front panel. A shopper may see a side first on a crowded shelf, and a person unpacking a shipment may encounter the bottom or opening flap first. Decide what each face contributes. Avoid repeating every message everywhere; instead, make orientation and critical use cues easy to find.
How do structure, opening, and protection shape the design?
Structural choices affect what a package protects, how it opens, and how efficiently it can be handled. Understand the product’s shape, weight, delicate areas, and expected movement inside the package. Then decide what support and cushioning are needed rather than adding material without a clear purpose.
Make the opening sequence part of the design. A buyer should find where to start and understand what to do next. Consider whether the package needs to be resealed, opened without tools, carried, poured from, or stored after opening. A closure that looks neat but is frustrating to use can undermine the experience.Check practical constraints as the form develops. A package may need to stand upright, hang on a fixture, stack, fit a shipper, or present the product through a window. These requirements can compete. A window may improve visibility but affect protection or structure; a compact format may save space but leave too little room for essential communication.
Prototype the parts that create the most uncertainty. A full-size paper or board mockup can answer questions about proportion, grip, opening, and shelf presence. A more realistic sample can help assess material feel, fit, closure, and assembly. Choose prototype fidelity based on the decision at hand. Do not wait for a polished sample to discover that the dimensions are wrong.
For products with special protection or handling needs, define the conditions that matter and work with appropriate product and packaging specialists to evaluate them. A visual review alone does not establish that a package will withstand distribution or meet applicable requirements.
A practical structural review starts with the product itself. Measure its maximum dimensions, identify protrusions or fragile interfaces, and establish how it should be oriented. Then sketch how the package supports it at rest and what prevents unwanted movement. If the item can shift, rub, leak, or press against a closure, specify where that risk occurs. This gives a prototype maker a question to answer, instead of a vague request for a “secure” package.
Next, walk through opening and use in order: locate the opening point, break any seal, remove the product, access accessories, close or store the package, and discard or retain it. Each step can expose a design issue. A tab may be hard to grip; a tray may lift the product but trap a small component; a resealable feature may need enough clearance to work. Describe the intended action plainly and observe where the sequence breaks down.
Think about handling beyond the first user. Packages are picked, stacked, moved, and packed before they reach a buyer. Note where a hand needs to grip, where surfaces could snag, and whether the form can be packed consistently. For a multi-part package, list the assembly order and identify any step that could be performed incorrectly. A simple assembly sketch can clarify orientation and reduce confusion during supplier review.
Use staged prototypes to isolate questions. A paper model can check volume and opening; a weighted stand-in can reveal whether the package tips; a fit sample can test clearances; a representative material sample can help judge stiffness and surface feel. Keep each sample labeled with its purpose and limitations. A quick mockup can show that a flap is awkward, but it cannot establish how a finished material will behave in storage or transit.
When should materials and production enter the process?
Bring production questions into concept selection, not just the final handoff. Material, shape, finish, components, and assembly method can affect cost, appearance, durability, and supplier options. A design may need revision if it depends on a process or tolerance that the chosen supplier cannot support.
Ask suppliers specific questions once the team has enough information to make the discussion useful. Share dimensions, intended use, known quantity range, desired finishes, and open questions. Ask what manufacturing methods are available, what details influence cost or lead time, what tolerances are practical, and what information is needed for a reliable quotation.
Do not treat a preliminary supplier response as a final commitment. Confirm assumptions, including material availability, tooling or setup needs, order quantities, and finishing or assembly steps. The goal is to make unknowns visible while there is still room to adjust the concept.
Compare material and format directions in relation to the product’s protection needs, sales channel, handling, and production constraints. A paperboard carton, flexible format, or molded component is not universally better. The choice should follow the brief and be checked with the people who will make and use the package.
Prepare a supplier conversation around decisions rather than asking for a general opinion. Bring a dimensioned sketch or model, the product envelope, the intended use and channel, a tentative quantity range, and the finishes under consideration. Ask the supplier to distinguish what is known from what remains conditional. For example, a quoted appearance may depend on a particular coating, while a closure detail may require a different assembly sequence. Record those conditions next to the concept so they remain visible when the team compares options.
Separate costs into drivers that can be discussed. Ask whether dimensions, material thickness, number of components, decoration, setup, or assembly are likely to influence the estimate. A smaller package is not automatically less expensive if it requires difficult assembly or a special process. The useful result is not a speculative cost promise; it is a list of design choices that change the quote and a plan for confirming them.Review alternatives using the same assumptions. If one direction is evaluated at a different quantity, finish, or protection level, the comparison may be misleading. Make a short request-for-information sheet that states what each option must do and what is still flexible. Ask suppliers to flag any incompatible requirements, such as a desired surface finish that conflicts with a particular material or a format that does not suit the available production method.
Materials also affect the visual result. Surface texture changes how colors and small type appear; stiffness affects how a package holds its shape; transparency changes what the buyer sees and what remains concealed. Request representative swatches or samples when these properties matter. A digital rendering is useful for alignment, but it cannot reproduce the feel, reflectivity, or behavior of a physical material.
Finally, establish who approves substitutions. Material availability or process decisions may change during sourcing. Before work proceeds, define which changes require review and what must remain unchanged, such as dimensions, product contact surfaces, key graphic placement, or a closure feature. This turns supplier flexibility into a controlled decision instead of an untracked alteration.
How can teams test a packaging concept before launch?
Test the riskiest assumptions first. A short, focused test can be more useful than a broad questionnaire. Match the method to the question:
Recognition: Show a realistic shelf or digital lineup and ask what people notice and understand.
Comprehension: Ask a viewer to explain what the product is and which option fits a stated need.
Navigation: Check whether people can find a variant, instruction, or important detail without coaching.
Use: Give someone a physical sample and observe how they open, handle, reseal, or store it.
Fit and assembly: Check product fit, component alignment, closure, and package assembly steps.
Production feasibility: Review the concept with suppliers and specialists who can assess materials and process.
Prepare each test to answer one main question. Use the right scale, show realistic information, and avoid explaining the concept before someone interprets it. Write down what people do and say. If someone hesitates or misreads a label, record the moment and context rather than immediately suggesting a fix.
After testing, distinguish a one-off reaction from a recurring issue. Decide which findings require a design change, which can be resolved through clearer communication, and which need another kind of evaluation. Record the changes and reasons so the team does not reopen settled decisions without new evidence.
Turn each finding into an action with an owner. A useful note says, “Two participants turned the carton around to find the variant; enlarge the variant label and test the revised front,” not “The package was confusing.” Add the question, observed behavior, proposed change, and follow-up check. This makes the test useful to the designer and the people responsible for approving the next version.
Keep test conditions stable when comparing alternatives. Use the same viewing distance, lighting, product description, and task for each concept. If one package is shown as a polished render and another as a rough sketch, feedback may reflect presentation quality instead of design merit. When testing a physical sample, explain any limitations after the task, not before, so the participant’s first interaction remains informative.
Do not ask a small informal review to answer a question it cannot resolve. A few handling sessions can expose confusing opening cues, but they do not establish broad preference or confirm distribution performance. Use the result to decide the next appropriate check. A clear sequence may be: compare concepts with realistic images, check the selected structure with a fit sample, then ask suppliers to assess manufacturability and production assumptions.
What should a production-ready packaging handoff include?
A supplier needs more than a persuasive rendering. The handoff should explain what is being made, how the parts relate, what matters for quality, and what remains to be confirmed. Depending on the package and production method, useful information commonly includes:
Current design files with clearly identified revisions.
Package dimensions and relevant component details.
Material and finish direction, with provisional alternatives marked.
Artwork files and a map of where required information belongs.
Assembly sequence, closure details, and product fit information.
Known tolerances or fit-critical areas for supplier review.
Open questions, assumptions, and decisions requiring approval.
Prototype or sample requirements and review criteria.
Use a controlled review process. Assign a decision owner, record feedback in one place, and label the current version. When a supplier proposes a change, evaluate its effect on appearance, use, protection, and fit before approving it. A small adjustment can alter the buyer experience or create a mismatch between components.For a broader view of how physical products move toward production, review the stages in a product development life cycle and consider how packaging decisions connect with design choices for assembly and end of life.
Make the handoff easy to inspect. Provide a contents list, use consistent filenames, and state which file controls each kind of information. Mark a draft dieline or provisional material choice clearly so it is not mistaken for an approved specification. If a drawing depends on a supplier’s confirmation, label the unresolved dimension and assign someone to close it. A clean package of files saves time only when reviewers can tell what is final and what still needs a decision.
Agree how comments will be resolved. Collect feedback in one place, separate required corrections from preferences, and identify the person who can approve each change. If comments conflict, return to the brief and decision criteria. Keep a revision log that records the date, change, reason, and approval status. That log helps a supplier avoid building from an outdated file and helps the team understand why a detail changed.
Before approving a sample, create a short review checklist tied to the intended use. Check that the product fits and sits in the intended orientation, the closure works as designed, graphics are positioned correctly, and key information is legible at actual size. Note any issue with a photo and a clear description. Approve only the aspects that were actually reviewed; a visual sign-off should not be treated as confirmation of performance conditions that were not assessed.
What common packaging design mistakes should teams avoid?
Starting with decoration instead of the job. A striking visual direction cannot compensate for unclear communication, poor protection, or a difficult opening. Write requirements before choosing a style.
Designing only for a flat image. A front view cannot show how a package feels, opens, stands, ships, or looks among other products. Review a realistic mockup and the actual use context.
Putting every message on the front. When claims compete, buyers may miss the product name or the information that distinguishes a variant. Set a hierarchy and decide what belongs on each panel.
Waiting too long to ask about production. Late discovery of an unavailable material, difficult assembly step, or supplier limitation can force redesign. Confirm major assumptions while the concept can still change.
Confusing a prototype with validation. One sample can reveal fit or usability issues, but does not automatically confirm performance in every distribution condition or at production scale. State what each review does and does not establish.
Using vague approval criteria. “Looks good” is not a reliable release check. Agree on practical criteria for legibility, fit, opening, appearance, and supplier review before approval.
Comparing unlike options. A concept with more generous material, more space for graphics, or a different quantity assumption may appear better for reasons unrelated to the intended design. State the conditions for each comparison and keep them consistent. If assumptions differ, call that out and decide whether the difference is acceptable.
Leaving ownership unclear. Packaging work touches product information, brand choices, supplier details, and launch timing. If no one owns a decision, unresolved comments can linger until they become urgent. Name a decision owner for each open issue and set the next review point.
Treating a rendering as a specification. A beautiful image can conceal missing dimensions, unclear material choices, and untested closures. Use renderings to communicate intent, then provide the drawings, files, sample criteria, and approvals needed to make the intent actionable.
How can packaging fit into the wider product program?
Packaging connects product design, brand decisions, sourcing, fulfillment, and launch communication. If those workstreams are handled separately, teams can end up with mismatched dimensions, conflicting messages, late artwork, or a package that works in one channel but not another.
Agree on interfaces early. The product team should provide confirmed dimensions and handling needs. The brand team should clarify identity and information priorities. The supplier should explain production constraints. The team responsible for selling and shipping should describe channel requirements. A shared decision log keeps inputs visible and identifies who owns each open question.
Packaging can be considered alongside the larger product experience. Explore examples of product work to see how physical form and user experience can be connected. For an emerging product, a launch readiness review can help surface cross-functional questions before release.Jackson Hedden works across industrial design and product development, from early ideas toward manufacturable outcomes. A team can learn about product design work or discuss a specific brief through the contact page.
For context on sustainability-related package claims, consult the Federal Trade Commission's guidance, Digital Transformation In The Packaging Industry Statistics. The available source does not establish environmental claim requirements, so confirm relevant rules with qualified counsel or the applicable authority before making a claim.
Coordinate a packaging decision calendar with the broader product schedule. Mark when dimensions become stable, when artwork needs approval, when a sample must be reviewed, and when supplier decisions are needed. If the product changes after a package sample is made, identify which interfaces must be rechecked. A change to the enclosure, accessory set, or user instructions may affect fit, protection, or the information shown on the package.
For a small team, one shared brief and decision log can be enough to keep work aligned. For a project with several vendors, assign one person to own the current files and collect questions. In either case, keep decisions close to the people who understand the product, brand, and production constraints. This makes packaging a connected workstream rather than a last-minute layer added after the product is complete.
Discuss your packaging goals with our team
Frequently Asked Questions
How early should packaging design begin?
Begin when the product’s main requirements and intended sales channels are clear enough to inform package decisions. Early work can proceed with provisional dimensions, but mark assumptions and revisit them when product details or supplier information change.
What information should a packaging brief include?
Include the buyer and use context, product dimensions and protection needs, required communication, sales and shipping channels, production assumptions, and confirmed constraints. Separate facts from open questions so the design process can test what remains uncertain.
How many packaging concepts should a team explore?
There is no fixed number for every project. Explore enough distinct directions to compare meaningful tradeoffs. A few clearly differentiated concepts are more useful than many minor variations that do not answer different needs.
How can a team check whether packaging is easy to understand?
Show a realistic package or image to people who have not been briefed, then ask them to identify the product, distinguish its variant, and locate important information. Observe without coaching and revise if the hierarchy repeatedly causes confusion.
Does a prototype prove that packaging is ready for production?
No. A prototype can answer specific questions about form, fit, opening, or appearance, depending on how it is made. Production readiness also requires supplier review, confirmation of materials and process, and checks suited to the product’s handling and distribution needs.
What is the next step after selecting a concept?
Document the decision, identify unresolved assumptions, and agree on the next sample or supplier review needed to reduce risk. Update the design information and approval criteria before moving toward production.
What should a team do next?
A clear packaging process links what buyers need to understand with what the product and production system require. Define the job, test uncertain parts, and keep the handoff specific so the chosen concept can move toward a useful, manufacturable package.